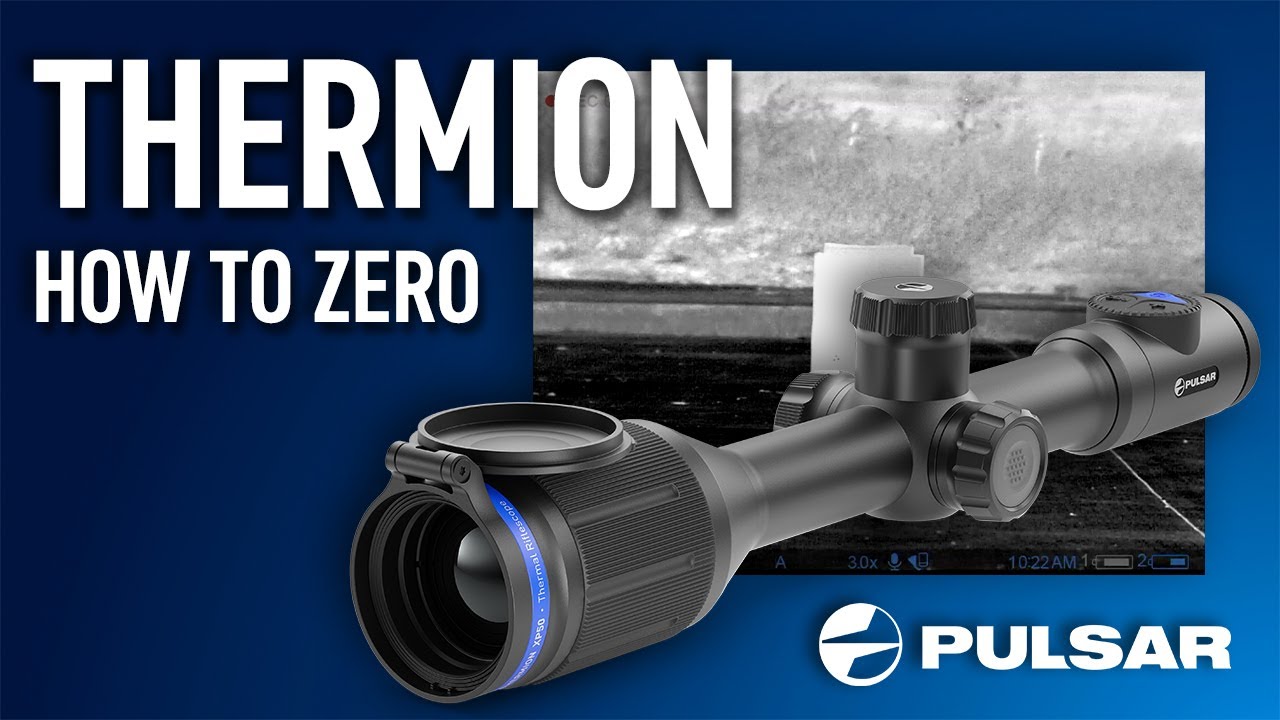
How to Sight in a Pulsar Thermal Scope: Expert Tips for Accuracy
Sighting in a Pulsar Thermal Scope is essential for accurate shooting. This process ensures your shots hit the target every time.
Thermal scopes are advanced devices that detect heat. Pulsar Thermal Scopes are among the best in this category. They offer clear images and precision. But, to get the most from your scope, you need to sight it in correctly. This means aligning the scope with your firearm.
You will adjust settings to match the point of impact with your aim. It might sound complex, but it’s manageable with the right steps. This guide will walk you through the process, making it simple and straightforward. Let’s get started!
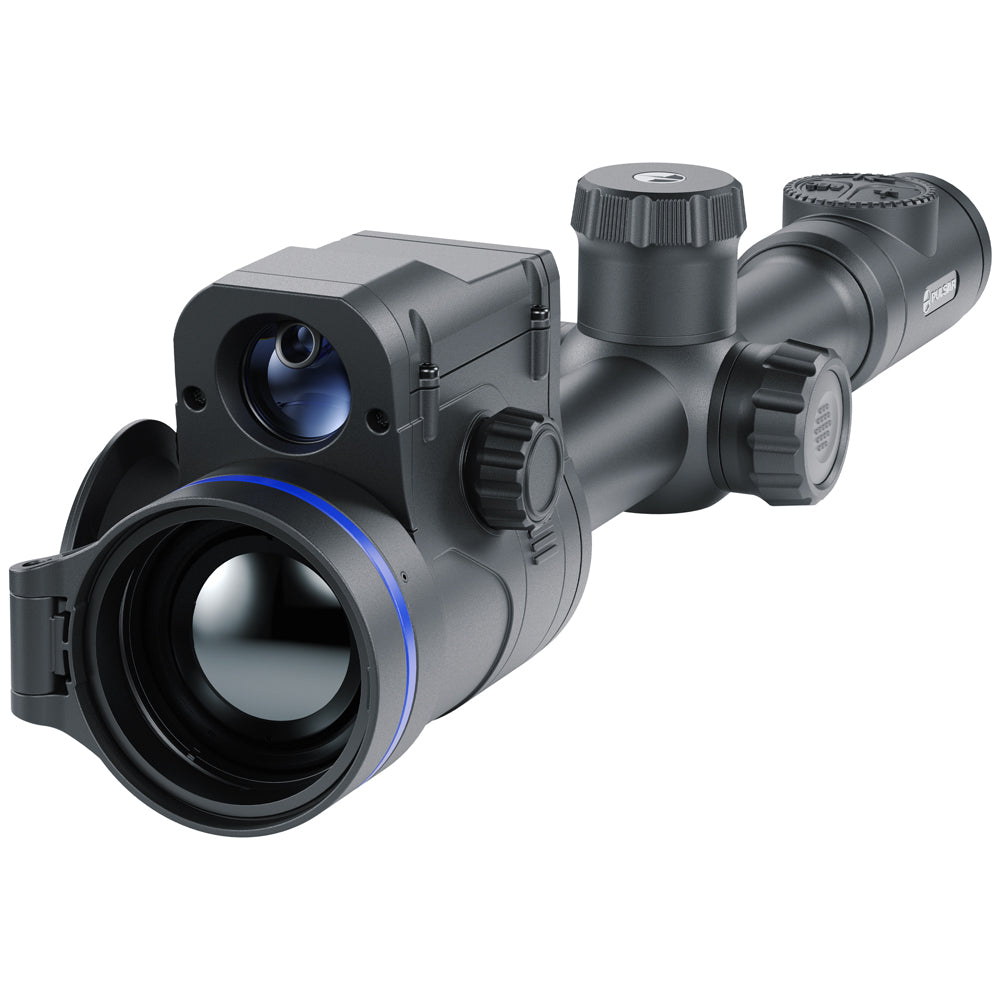
Credit: pulsarnv.com
Choosing The Right Pulsar Thermal Scope
Choosing the right Pulsar thermal scope is crucial for an effective shooting experience. With various models and features available, making the right choice can be overwhelming. In this section, we’ll explore the factors to consider when selecting a Pulsar thermal scope. We will discuss models, features, and budget considerations.
Models And Features
Pulsar offers a range of thermal scopes, each with unique features. Here are some popular models:
- Pulsar Trail 2 LRF – Includes a built-in laser rangefinder.
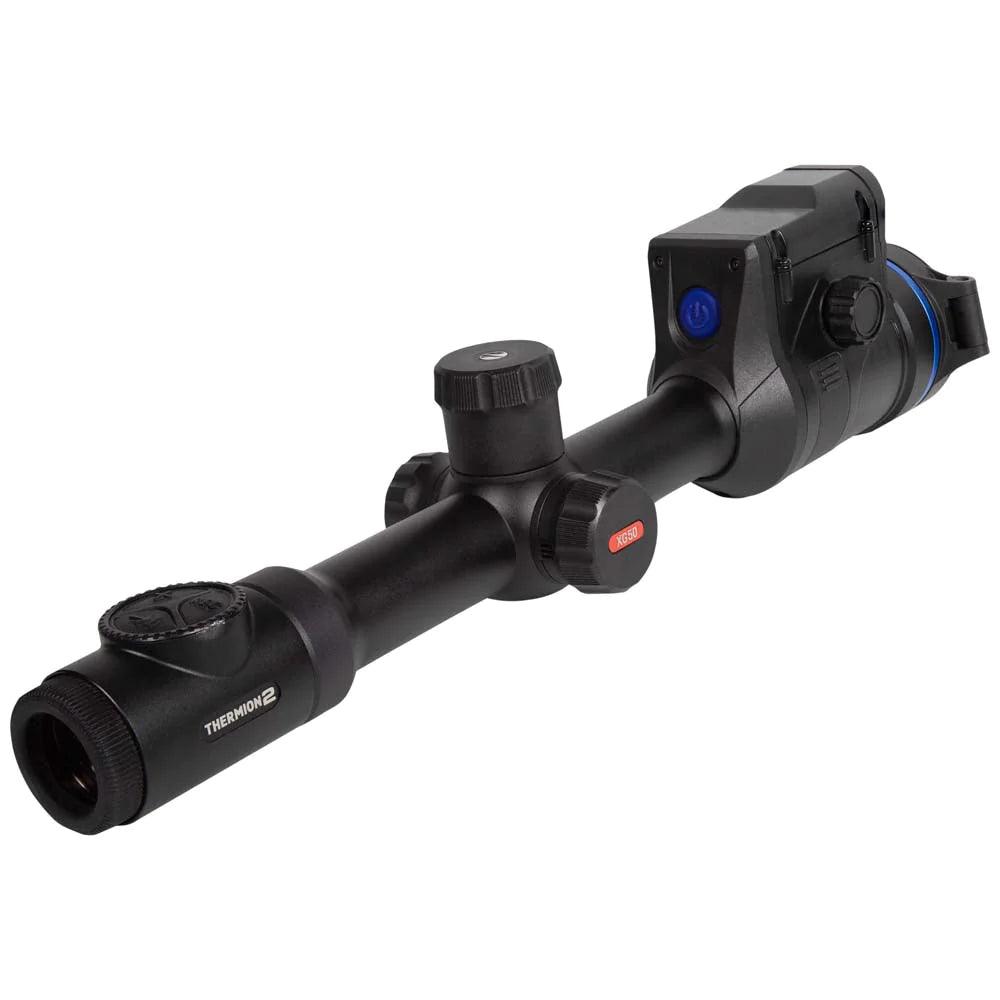
- Pulsar Thermion 2 – Known for its high-resolution imaging.
- Pulsar Helion 2 – Offers a long detection range.
Important features to look for include:
- Resolution: Higher resolution provides clearer images.
- Detection Range: Determines how far you can see targets.
- Battery Life: Longer battery life means more time in the field.
- Refresh Rate: Higher refresh rates offer smoother visuals.
Budget Considerations
When selecting a thermal scope, budget plays a significant role. Here’s a simple table to help you understand the cost range:
| Model | Price Range (USD) |
|---|---|
| Pulsar Trail 2 LRF | $4,000 – $5,000 |
| Pulsar Thermion 2 | $3,500 – $4,500 |
| Pulsar Helion 2 | $2,500 – $3,500 |
Consider your budget and choose the model that offers the best value. Investing in a good thermal scope can enhance your shooting experience.
Credit: nightvisionuniverse.com
Essential Tools And Equipment
To sight in a Pulsar Thermal Scope, you need the right tools. This ensures accuracy and effectiveness during use. Below are the essential tools and equipment required.
Mounting Hardware
Proper mounting hardware is essential for securing your Pulsar Thermal Scope. This includes rings and bases that fit your rifle. The hardware must be high-quality to ensure stability.
- Scope Rings: Choose rings that match the diameter of your scope tube.
- Bases: Ensure the bases are compatible with your rifle model.
- Torque Wrench: Use this to tighten screws to the recommended specifications.
Incorrect mounting can lead to alignment issues. This affects the accuracy of the scope. Ensure the hardware is properly installed and tightened.
Sighting Targets
Sighting targets are crucial for the sighting process. They help you assess the accuracy of your scope. These targets should have clear markings and contrast.
| Target Type | Description |
|---|---|
| Thermal Targets: | These are designed to be visible through thermal scopes. |
| Paper Targets: | These can be used for initial sighting and adjustments. |
| Reactive Targets: | These provide immediate feedback upon being hit. |
Using the right sighting targets ensures you can make precise adjustments. This improves the overall accuracy of your Pulsar Thermal Scope.
Preparing Your Rifle
Before sighting in your Pulsar Thermal Scope, it is crucial to prepare your rifle. Proper preparation ensures that your scope will perform accurately. This section will cover the essential steps to get your rifle ready, focusing on cleaning the barrel and securing the scope mount.
Cleaning The Barrel
Start by thoroughly cleaning your rifle’s barrel. A clean barrel can improve accuracy and consistency. Use a cleaning rod, patches, and a good solvent to remove any residue or debris.
- Insert a cleaning rod with a patch soaked in solvent.
- Run the patch through the barrel to remove dirt and fouling.
- Repeat with dry patches until they come out clean.
- Finish with a light coating of oil to prevent rust.
Regular cleaning of the barrel ensures that your shots are consistent. This is essential for precise sighting and overall performance.
Securing The Scope Mount
Securing the scope mount is another critical step. A loose mount can cause your scope to shift, affecting accuracy.
- Ensure the mount is compatible with your rifle model.
- Attach the mount securely using the provided screws.
- Tighten the screws evenly to prevent misalignment.
- Use a torque wrench for precise tightening as per manufacturer’s recommendations.
Double-check the mount to ensure it is firmly attached. A secure mount provides a stable platform for your Pulsar Thermal Scope.
With a clean barrel and a secure scope mount, your rifle is now properly prepared. This preparation is vital for accurate and efficient sighting of your Pulsar Thermal Scope.
Mounting The Pulsar Thermal Scope
Mounting your Pulsar Thermal Scope correctly is essential for accuracy. Before you start, gather all necessary tools. A stable work area is important. Make sure your rifle is unloaded for safety. Follow these steps for a secure mount.
Proper Alignment
Proper alignment ensures your scope and rifle are in sync. Place the scope on the mounting rail. Adjust it until the reticle is clear. Ensure the scope is level. Use a bubble level if needed. Your eye should be comfortable when looking through the scope. Make minor adjustments until it feels right.
Tightening Screws
Tightening screws is crucial for stability. Start by hand-tightening each screw. Use a torque wrench for final tightening. Follow the manufacturer’s recommended torque settings. Over-tightening can damage the scope. Under-tightening can cause movement. Check each screw twice to be sure. This step secures your scope firmly in place.
Initial Calibration Steps
Initial calibration is crucial for accurate shooting with a Pulsar thermal scope. It ensures your shots hit the target precisely. Follow these steps to set up your scope correctly.
Adjusting The Reticle
The reticle is your aiming point. Adjust it to match your vision. First, mount the scope on your rifle securely. Turn on the scope and locate the reticle adjustment controls. These controls allow you to move the reticle up, down, left, or right. Align the reticle with your target in the center of the scope’s view. Make small adjustments until the reticle is perfectly centered. This step is essential for accurate targeting.
Setting The Zero
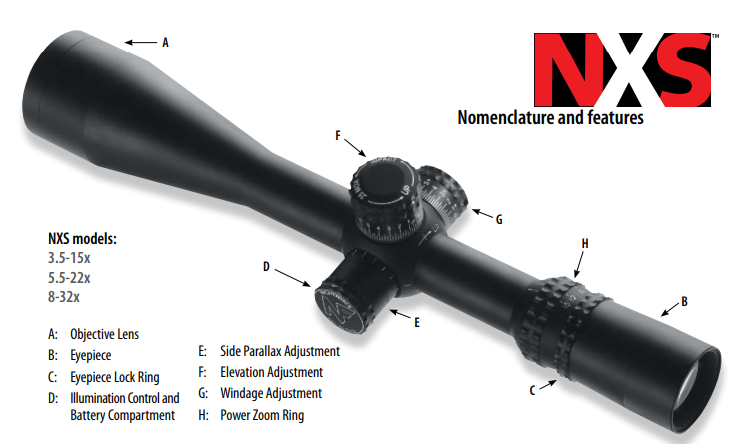
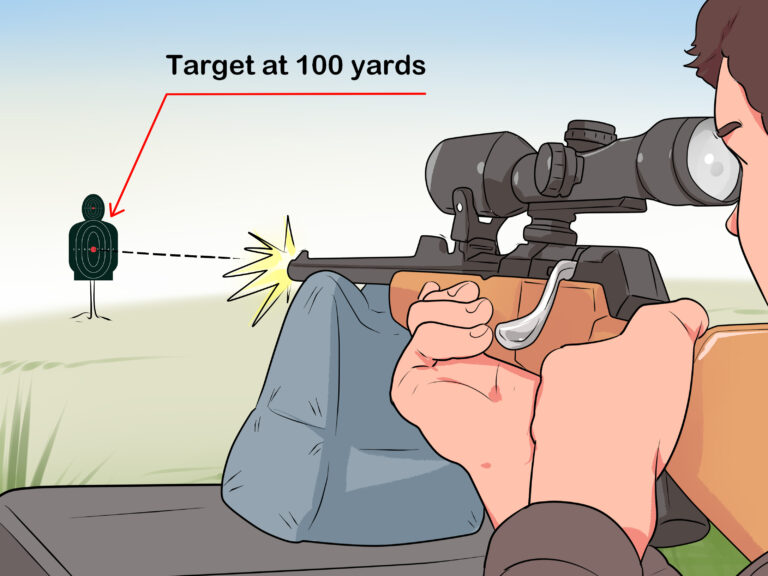
Setting the zero involves aligning the scope with the rifle’s barrel. This ensures your shots hit where you aim. Start by positioning your rifle on a stable surface. Aim at a target placed at a known distance, usually 100 yards. Fire a few shots to see where they hit. Adjust the scope’s elevation and windage knobs to move the point of impact. Continue adjusting until your shots consistently hit the target center. This process may take several tries, but accuracy is key.

Credit: www.youtube.com
Fine-tuning The Scope
Fine-tuning your Pulsar thermal scope ensures accuracy and precision. After mounting and basic sighting, refinement is key. This section covers the steps for fine-tuning your scope. You’ll learn to make elevation adjustments and windage corrections.
Making Elevation Adjustments
Elevation adjustments help correct the vertical alignment of your scope. Start by aiming at a target and taking a shot. Note where the bullet hits in relation to the target. Use the elevation dial to adjust the scope up or down. If the bullet hits below the target, turn the dial up. If it hits above, turn the dial down. Repeat this process until the bullet hits the desired spot.
Windage Corrections
Windage corrections adjust the horizontal alignment of your scope. Begin by aiming and shooting at your target. Observe the bullet’s position relative to the target. Use the windage dial to move the scope left or right. If the bullet hits to the left, turn the dial right. If it hits to the right, turn the dial left. Continue adjusting until your shots are centered on the target.
Testing Accuracy
Testing accuracy is crucial for ensuring your Pulsar thermal scope is properly sighted in. This process involves evaluating your shooting precision and making necessary adjustments. Let’s dive into the steps involved in testing accuracy.
Shooting Practice Rounds
Begin by setting up a target at your desired distance. Ensure the target is clearly visible through the thermal scope. Load your rifle and take a few practice shots. Aim steadily and focus on the center of the target.
Here’s a simple checklist for shooting practice rounds:
- Set up a clear target
- Load your rifle
- Aim for the center
- Fire a few practice shots
Analyzing Shot Placement
After shooting, examine where your bullets hit. Compare the shot placement with your aiming point. Look for patterns in the shot groupings.
A table can help you record and analyze the shot placement:
| Shot Number | Point of Impact | Distance from Center (inches) |
|---|---|---|
| 1 | Top Left | 2 |
| 2 | Bottom Right | 1.5 |
| 3 | Center | 0.5 |
Use this data to make adjustments to your scope. Adjust the windage and elevation settings as needed. Repeat the process until your shots consistently hit the center.
Maintaining Your Thermal Scope
Maintaining your thermal scope is crucial for ensuring its longevity and performance. Regular maintenance not only helps in enhancing the lifespan of your scope but also ensures that you get accurate results every time you use it. Here are some essential tips to maintain your Pulsar thermal scope.
Regular Cleaning
Regular cleaning of your thermal scope is vital. Dust, dirt, and fingerprints can affect the clarity of your images. Follow these steps to keep your scope clean:
- Use a soft, lint-free cloth to wipe the lens.
- Apply a small amount of lens cleaner to the cloth, not directly to the lens.
- Gently wipe the lens in a circular motion to remove smudges.
- Ensure the scope body is clean and free of debris.
Always store your scope in a dust-free environment. This prevents dirt accumulation and keeps your scope ready for use.
Firmware Updates
Keeping your thermal scope’s firmware updated is important. Firmware updates often include new features and improvements. Here’s how you can update the firmware:
- Visit the manufacturer’s website and download the latest firmware.
- Connect your scope to your computer using a USB cable.
- Follow the on-screen instructions to install the firmware update.
- Restart your scope after the update is complete.
Regular firmware updates can significantly improve the functionality and performance of your thermal scope.
Frequently Asked Questions
How Do You Sight In A Pulsar Thermal Scope?
To sight in a Pulsar thermal scope, mount it securely. Adjust the windage and elevation dials. Use a thermal target for precise alignment. Fine-tune settings for optimal accuracy.
What Distance Should I Sight In My Thermal Scope?
Start at 50 yards for initial sighting. Once accurate, move to 100 yards for fine-tuning. Adjust as needed for your specific use case.
Can You Sight In A Thermal Scope During The Day?
Yes, use a thermal target or a heat source. It helps the thermal scope detect and align accurately even in daylight conditions.
Why Is My Pulsar Thermal Scope Not Accurate?
Ensure it’s mounted securely. Check for any obstructions. Recalibrate the scope if needed. Always use a thermal target for best results.
Conclusion
Mastering the Pulsar thermal scope enhances your shooting accuracy. Start with a clear target. Adjust settings patiently. Practice often to gain confidence. Always prioritize safety in the field. Share your experiences with fellow hunters. Stay updated with scope features. Happy shooting!

